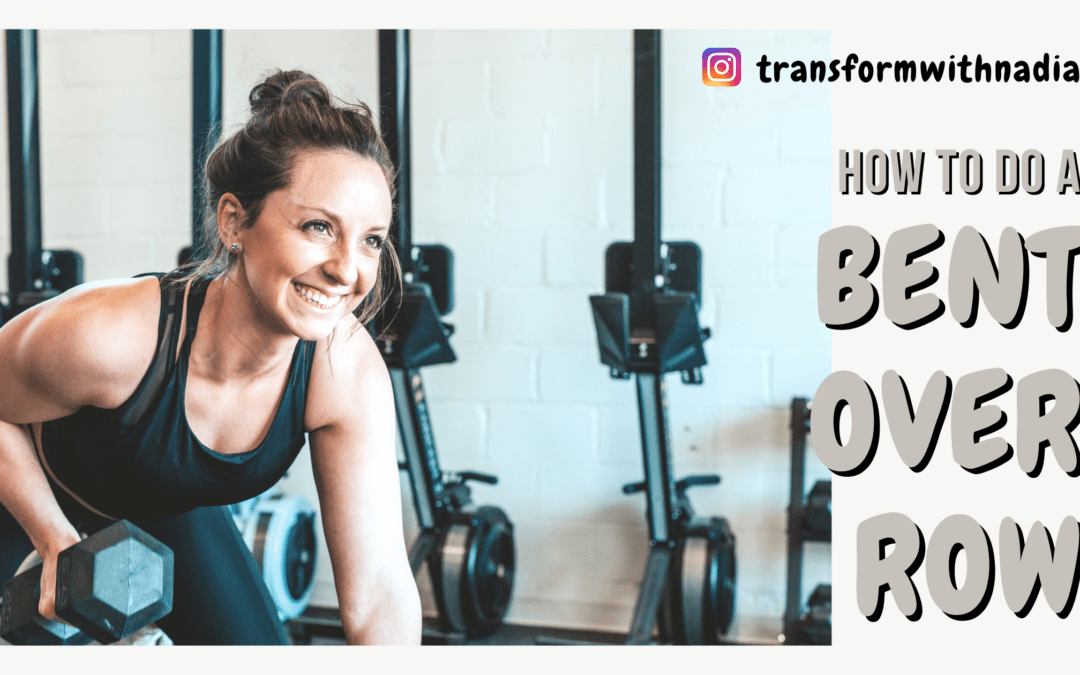
The row is a classic and go-to exercise for working the muscles of your back. There are a ton of variations you can complete using different pieces of equipment. In this blog, I’m going to share some of the benefits of this move and describe in detail how to do a bent over row with dumbbells.
Benefits of the Bent Over Row
Trainers and body builders alike love the bent over row. It’s a a multi-joint movement, so in addition to building your back muscles, depending on the variation you can also:
- Strengthen your biceps and shoulders
- Engage your obliques
- Build your hamstrings and glutes
- Reduce neck and shoulder tightness and pain
- Improve your posture
Your back also contains one of the two largest muscle groups in your body. If weight or body fat loss is one of your goals, working large muscle groups can speed up your progress.
How to Perform a Dumbbell Bent Over Row
Remember how I mentioned that there are a ton of different kinds of rows? Well, each kind of row also has variations you can perform to suit your goals.
Basic Bent Over Row
The standard is your basic low or narrow row. Here’s how you do it.
- Begin in a hinged position, at a 45 degree angle (or deeper), with your arms extended forward and down, palms facing one another.
- Pull your elbows back, keeping them close to your ribcage. Make sure to draw your shoulder blades together on your back and keep your back straight as you complete this motion.
- Return your arms to the starting position.
- Repeat for the requisite number of repetitions.
I recommend this one for beginners and anyone who wants to keep their workout simple. Here’s a quick video demonstration to show you how it’s done.
High Row
I like to use the high row when I want to focus more on working delts. The directions are only slightly different from the basic version.
- Begin in a hinged position, at a 45 degree angle (or deeper), with your arms extended forward and down. This time, your palms should be facing your thighs
- Pull your elbows back and out to the sides, so your elbows go wide. Again, make sure to draw your shoulder blades together on your back and keep your back straight as you complete this motion.
- Return your arms to the starting position.
- Repeat until you’ve completed all your repetitions.
Take a look at the video demonstration to see how the high row differs from the basic.
Alternating Row
You can complete the alternating row as a classic bent over variant or using the high row instructions. But instead of drawing back both arms at the same time, pull one elbow back at a time like this:
What’s great about this option is that it creates the opportunity for core stabilization. Many people also say that they can complete more reps this way, because one arm is working while the other is taking a break.
3 Point Row
With the 3 point row, you work one side at a time. This is my favorite type of bent over row because it works your back and obliques at the same time. I have also personally gotten the best back building results from using this move. To perform it, place one hand on a table, bench, or chair seat, then follow the directions for the basic or high row. Here’s what it looks like:
Why Every Program Should Include Rows
In the U.S. and in many other countries, a huge portion of the workforce performs actions that are front body oriented (i.e. lifting, pushing, typing, etc.). This is true even for me as a group fitness and yoga instructor. The result is tightness in your chest, shoulders, and back that can result in bad posture, pain, headaches, and injury. This can be alleviated and even avoided by including row variations in your workout routine once or twice a week.
So what do you think? Will you try out the dumbbell bent over row? Or perhaps you’ve already tried it. In that case, let me know what you think about this move by leaving a comment below.
Good luck with your workouts!
Nadia
PS – I have a TON of exercise demos on my YouTube channel. Click here to head over and check it out!

